Over the years, many folks have asked why the coffee in our stores always tastes better than what they make at home. They have dutifully bought their favorite beans from us and yet, brewed at home it never tastes as good. I have habitually responded that with all the money we have spent in our brewing equipment here it better taste better! Now that many of us are finding that we must brew at home I think it high time that I answer the question more thoroughly.
There is a lot of advice out in the interwebs on how to make a good cup of coffee at home. Much of it can be useful but our coffee is different than what is typically found and presents some unique challenges and opportunities. Much of the advice simply doesn’t apply. So as briefly as possible I hope to give Kaladi coffee drinkers a helpful guide to making coffee at home.
First, a simple set of parameters. Great coffee is a function of three important factors: Water Temperature, Brew Rate, and Dwell Time. Regardless of the device, it is these three factors that will ultimately determine the quality of your brew. The challenge is finding a brew method that unites these three factors.
Let’s take water temperature first. Having sufficient hot water is key. The minimum brew temperature for our coffee is 197°. This is the water temperature in the brew basket itself so you need a greater temperature going in to allow for the drop in temperature in the basket.
Brew rate is the time it takes to completely brew the coffee. Too short a time will not bring out all the flavor, too long and it will be bitter. The best brew rate is 4 to 6 minutes.
Dwell time is the period of time that the coffee grounds are fully soaking in water. It is best to keep the grounds completely saturated during the entire time of brewing.
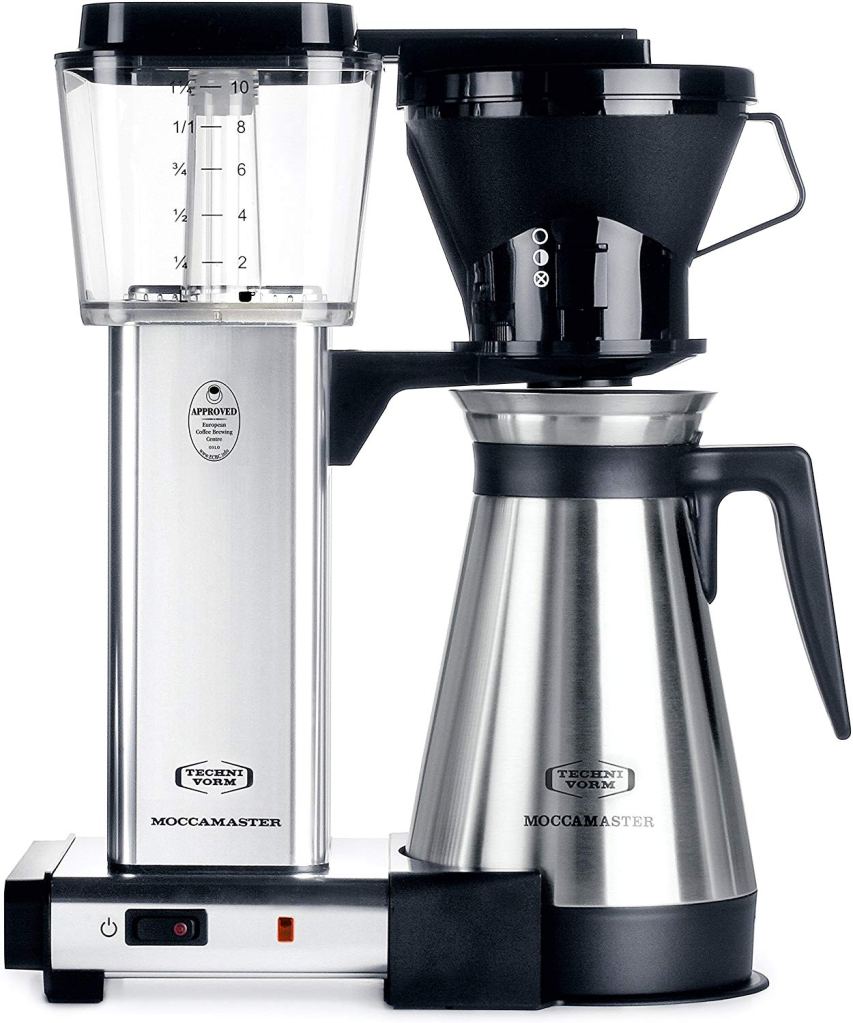
Keeping these three things in mind let’s look at the different options for making coffee at home. Most folks prefer an electric coffee brewer that is easy to use. Most of them make terrible coffee for all the reasons listed above. They fail in providing adequate water temperature, the brew rates are usually too slow and they are incapable of soaking the coffee grounds in water. There are a few exceptions. Two of the best are the Techivorm Mocca Master and the Bonavita Coffee Maker. Of the two, the Mocca Master is the more proven long lasting brewer, but it is expensive. I would argue that it is worth the investment for its simplicity and durability, nevertheless it is significantly more money than the Bonavita. Both brewers, though, produce an excellent tasting brew. They meet all the criteria of the three factors of brewing.
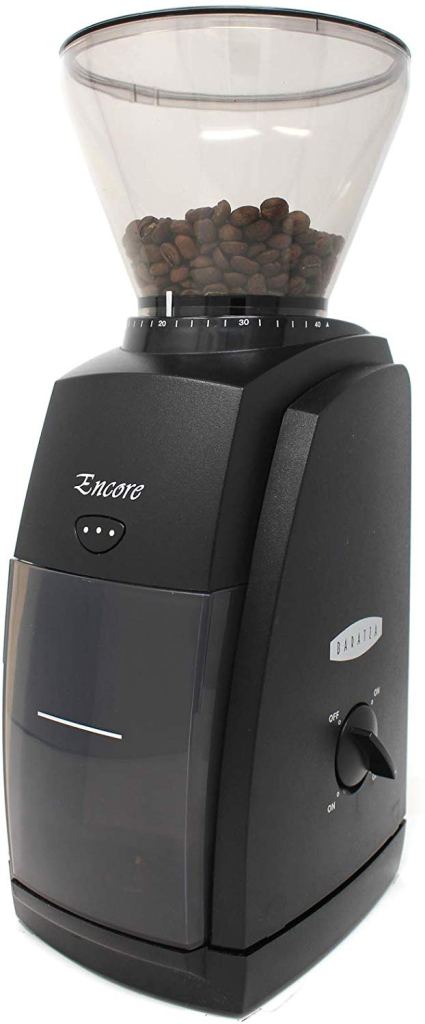
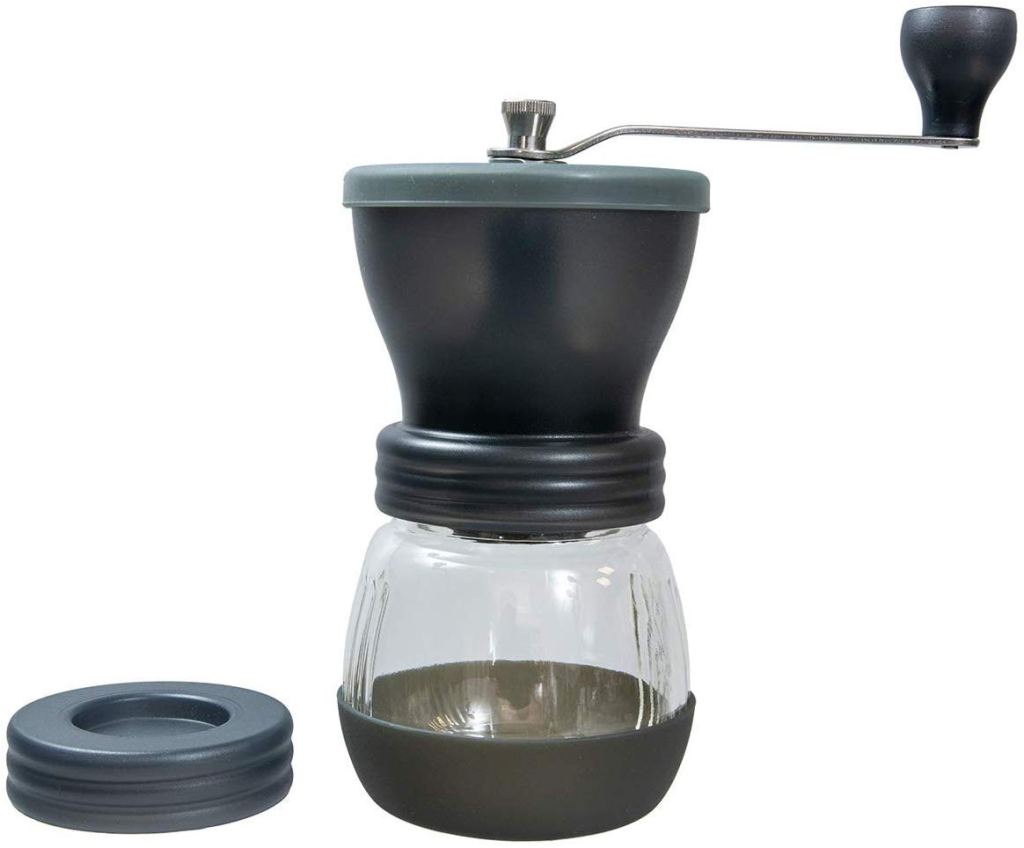
However, the brewing device itself is only one part of the mix. There are two other considerations critical to making great coffee. The most important of these is a good grinder. Like brewers, there are lots of grinders available and like brewers most of them are terrible. The best is either the Baratza line of electric grinders or hand grinders such as those made by Hario, Porlex and others. Beware of cheap imitations of these brands, the Japanese made models are superior to the knock-offs. It is important that the grind is adjusted appropriately to get the brew rate correct. If the grind is too coarse the water passes through too quickly making a thin flavorless brew, too slow and the brew will be bitter. Similarily, the right amount of grounds in the basket greatly determines the quality of the brew. It is the combination of the correct grind and correct amount that ultimately dictates dwell time and brew rate.
The recommended amount of coffee to use is two tablespoons of grounds to 6 ounces of water. The number of cups a brewer claims to produce is based on this measure meaning a 10 cup coffee brewer brews 10 6 ounce cups. Using this measure is a good place to start and then adjusting the amount from experience. Personally I have found on the Mocca Master 5 scoops is best for a six cup pot, 8 scoops for a 10 cup pot.
If you are making coffee just for yourself an electric brewer can be wasteful. There are plenty of one cup pour over brewers but for my money I would go for the Aeropress. The Aeropress makes and outstanding “shot” of coffee. While not as strong as an espresso shot it has the advantage of producing a concentrated shot of coffee that you can add water to make your preferred strength of brew. The device has a set of numbers on the side ranging from one to four corresponding to the number of “shots” you are making. With the amount of bloom our coffee creates you are really limited to the two shot mark. The scoop provided by Aeropress corresponds to the number of shots. I find a double shot is perfect to use for a standard 10/12 ounce mug of coffee.

The trick with this brewer is getting the right amount of water in the plunger and the right grind to provide the resistance necessary to get a good extraction. Once you have placed your two scoops in, pour hot water on the grounds, allowing them to bloom. Chances are with our coffee the bloom will come all the way to the top. Stir the grounds and water vigorously and watch for the actual water level. Add water until it settles at the number 2 mark. You only need to allow the water to soak the grounds for about 10 to 15 seconds before using the plunger. The grind fineness should be tailored to provide enough resistance that it takes about 25 seconds to plunge the water through the grounds without undue pressure. You can use the paper filter a number of times, rinsing it out after use.
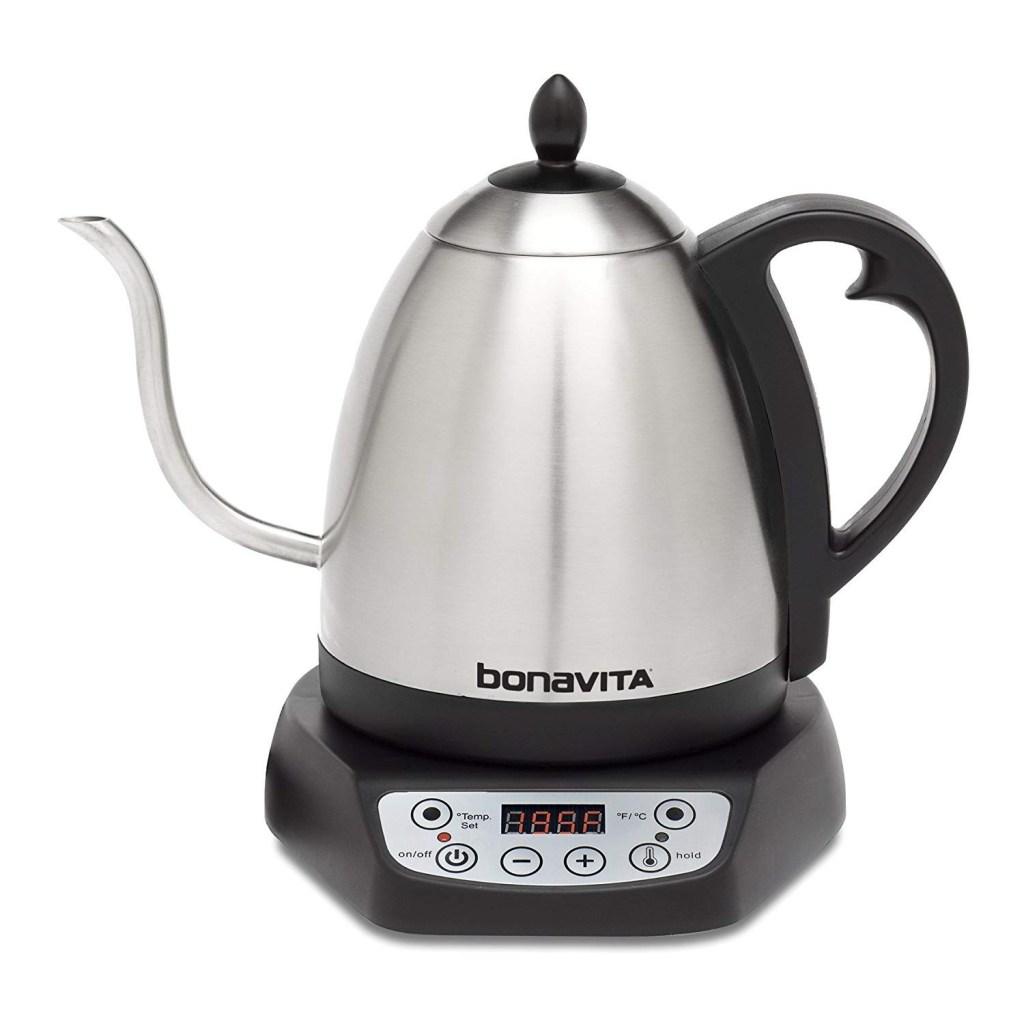
Many folks like making their coffee manually with pour over brewers. While it does take some trial and error, it can be a rewarding way of making quality coffee. Once again, the coffee will only be as good as the grinder and water temperature is key here. At Denver’s altitude, boiling occurs around 203°. You can boil a kettle on the stove top or choose from a number of electric kettles that are now available with temperature control. If you use one of these electric kettles set the temperature to 201° to allow for good temperature during brewing. Wet all of the grounds first and allow to bloom. Once you see the bubbles burst begin aggressively filling the filter cone to the top with hot water. Stir the grounds to break up the cake at the bottom. Keep the filter as full as possible throughout the brewing, keeping the grounds fully soaked. I prefer filter cones made of ceramic since they retain heat better than the plastic or metal versions. Once again, it is the amount of coffee and grind fineness that will determine the brew rate – aiming for 5 – 6 minutes to fully brew.
It doesn’t matter whether you choose the white or brown filters these days. Both are equal in environmental considerations (the white ones are not bleached) and taste (the brown ones don’t taste like grocery bags). In the past there was a difference but modern processing have eliminated these differences. Avoid using reusable metal filters, even the new laser cut models. These filters do not allow for the ideal flow rate for water passing through invariably making the coffee taste thin.

Admittedly, none of these techniques will produce coffee quality equal to modern computer controlled pulse brew commercial brewers but at least you can brew coffee that tastes great and there is the satisfaction of making great coffee at home.
